To use the network printers on your Windows computer, the Papercut client must be installed. If you're a staff member with a barcoded device, the client should already be installed on your computer. In that case, you can proceed directly to the Network Printer Installation for Windows guide.
If the Papercut client is not installed or you're unsure, follow the steps below. This article provides detailed, step-by-step instructions for installing the PaperCut client and using it for your printing needs.
Instructions
Installing the PaperCut Client
-
The installer is located on the PrintX server. Press the Windows key + R key on your keyboard to open the Run command window.
-
In the Run Window, enter: \\printx\PCClient\win. Click OK.

-
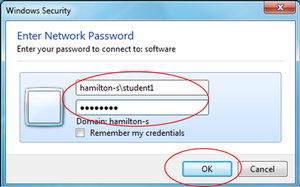
In the window that appears, enter your network username and password.
-
Faculty/Employees: Enter your username in the following format: hamilton-d\username.
-
Students: If this is your personal computer, enter your username in the following format: hamilton-s\username.
-
Double-click on the file named client-local-install.exe.
-
If a User Account Control Window appears asking, Do you want to allow this app to make changes to this computer?, click Yes.
-
Enter your username and password if prompted again.
-
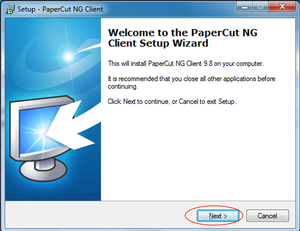
In the Setup – PaperCut NG Client Window that appears, click Next.
-
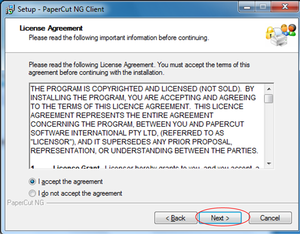
Click on I accept the agreement and then click Next.
-
In the Select Destination Location Window, click Next.
-
In the Select Components Window, click Next.
-
In the Ready to Install window, click Install.
-
Click Finish.
-
Enter your username and password in the same format as in step 3.
Using the PaperCut Client
-
Open the application from which you need to print.
-
Select Print from the appropriate menu.
-
Choose the printer.
-
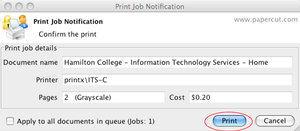
You’ll see the “cost” of your print job. Click Print.
-
At any time, you can see how much you’ve printed by clicking on the PaperCut icon in the system tray.

-
If you want more information, click Details...

-
This will launch the PaperCut web client. Enter your credentials and login.
More information
Please consult the related printing articles on the sidebar. If you are still having trouble with installing or using the PaperCut Client, consider opening a ticket with the Help Desk.